Graphic Design: "Mayolo" Shirt
How I did my first commission!
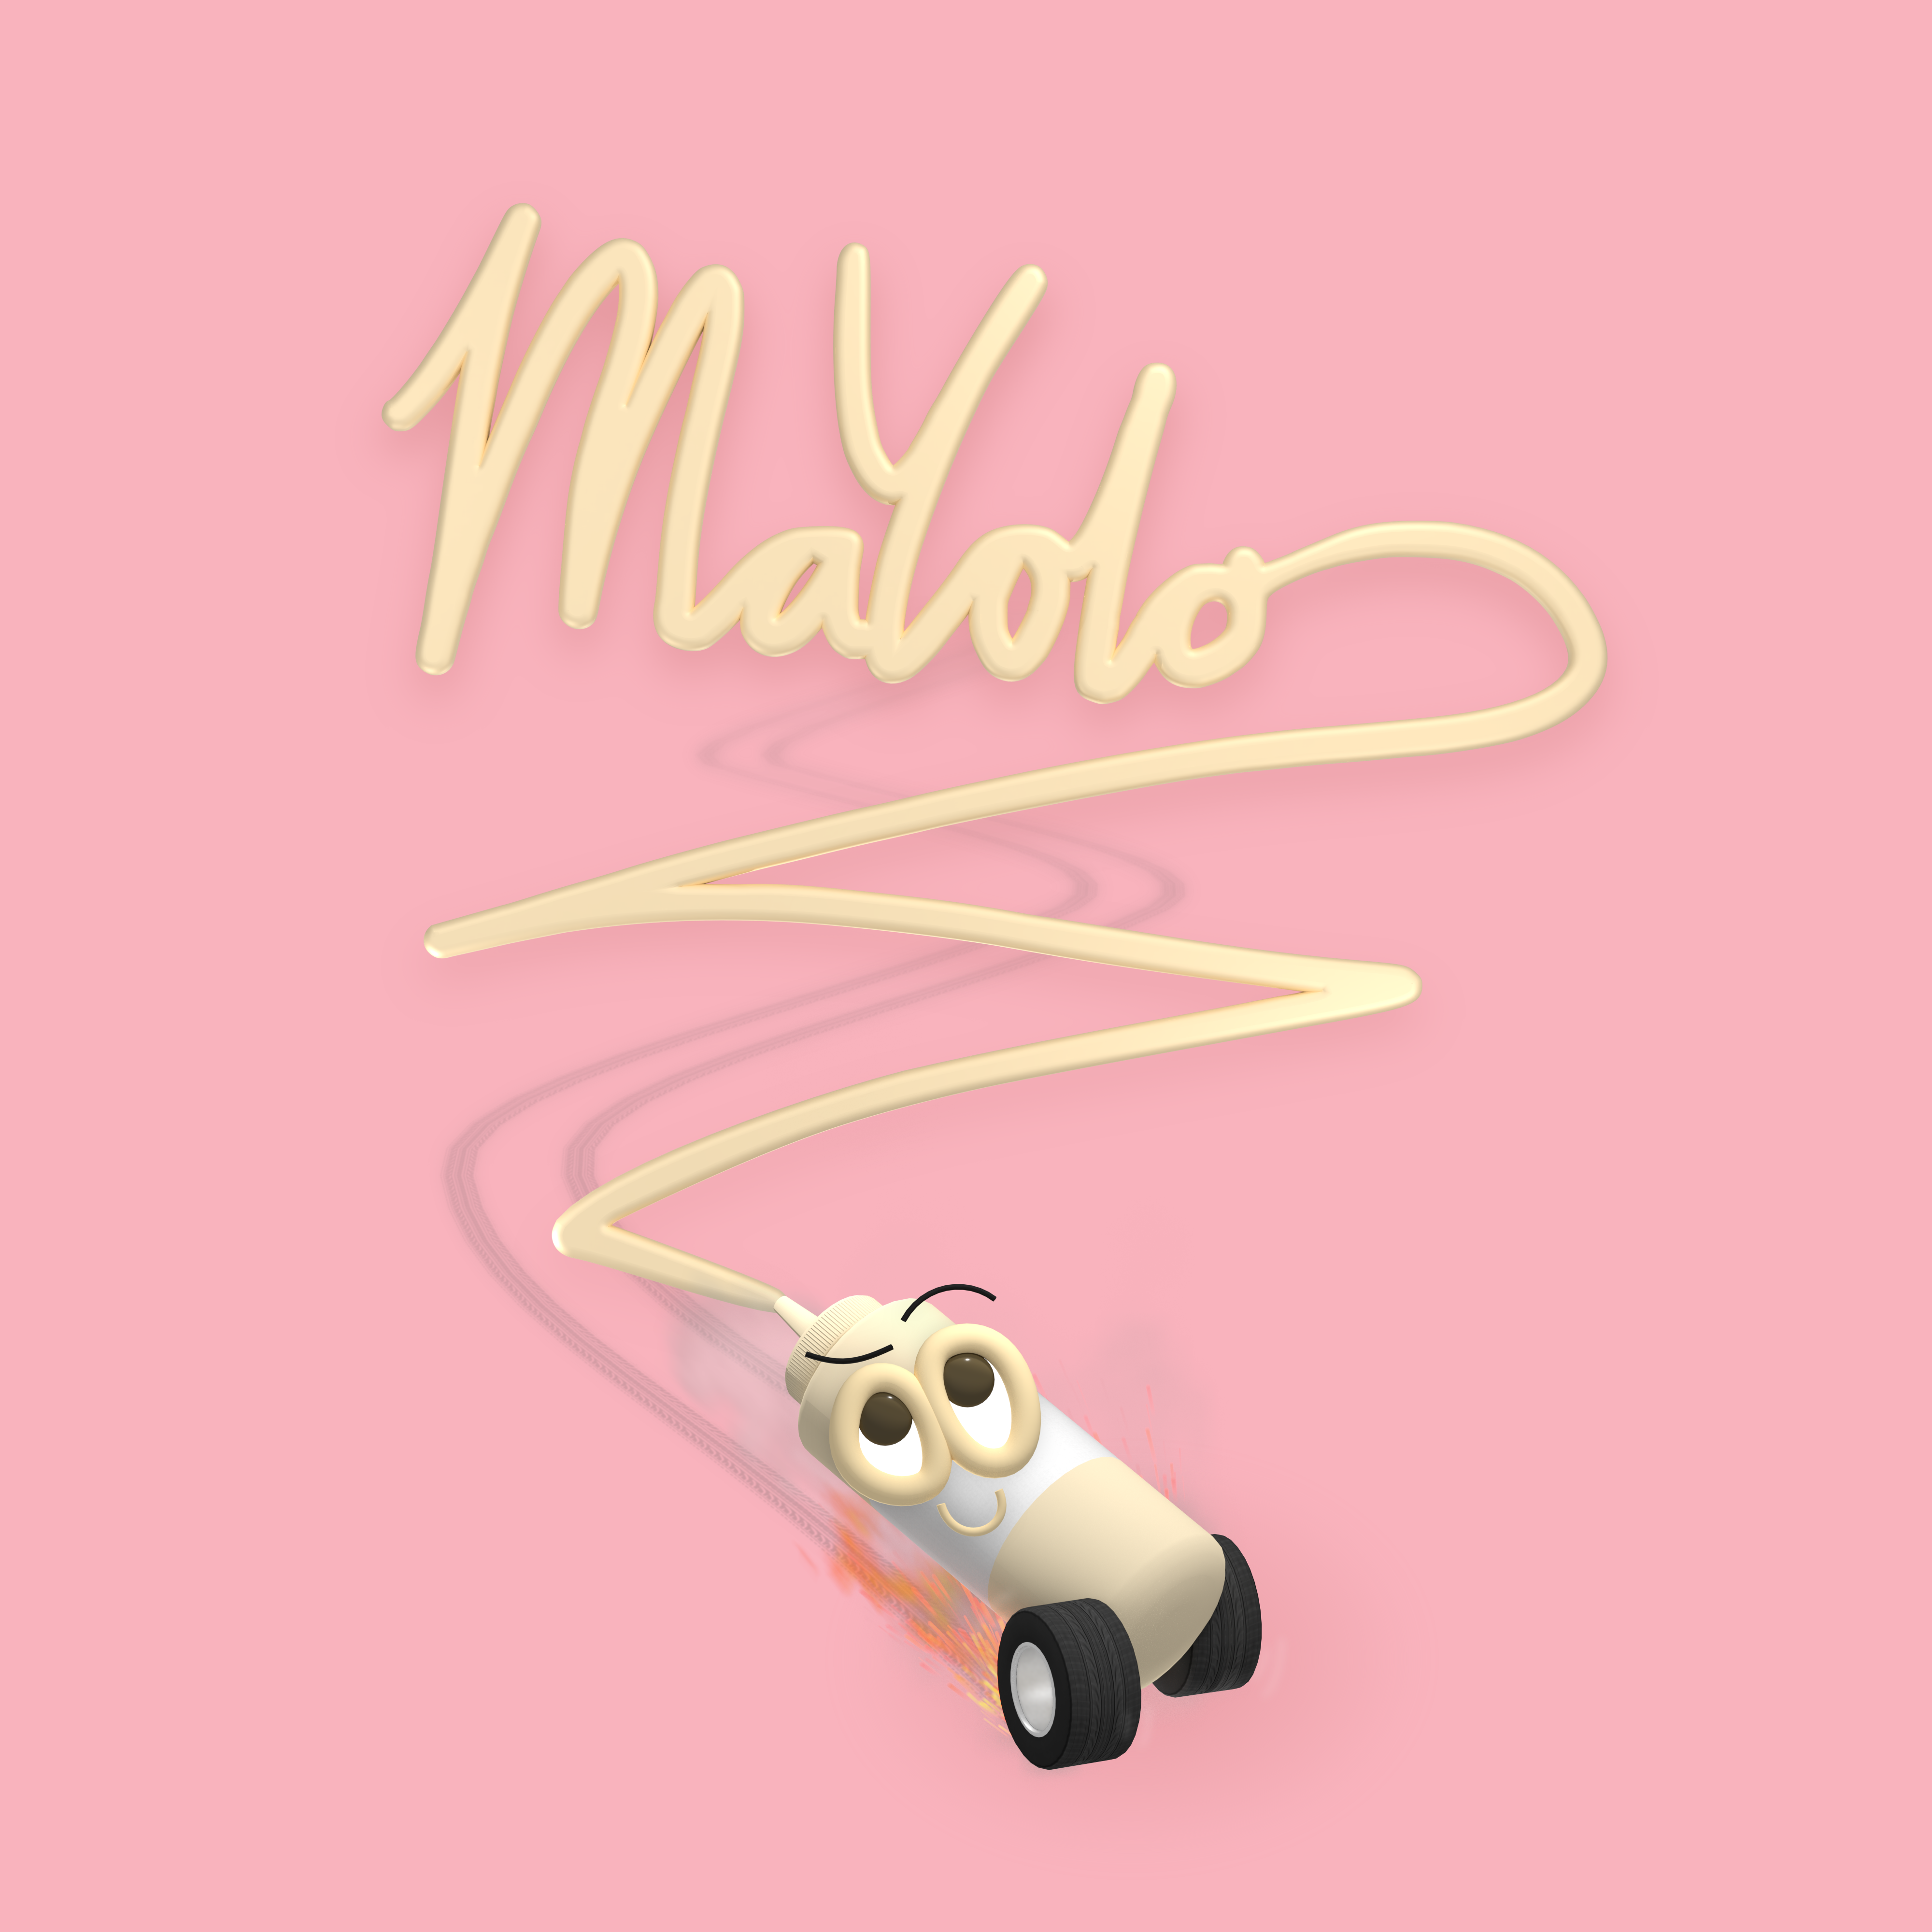
This design was a done as commission for someone. I was given the general idea of a cartoon mayo bottle writing out the words “Mayolo”, and the rest was up to my own judgement.
Making Of
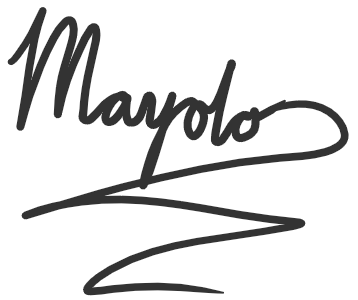
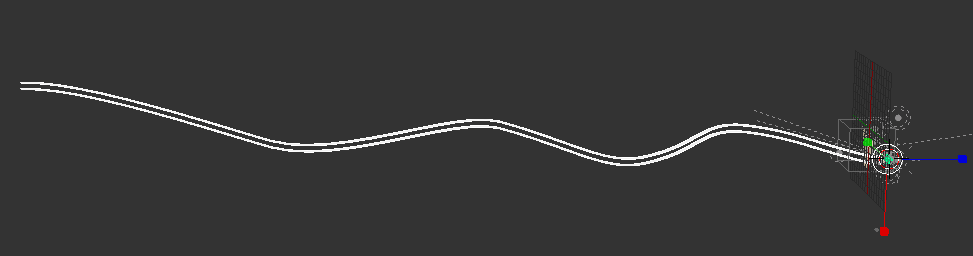
I started by writing out the text. After doing some sketches, I settled on this text and translated it into an SVG. I was requested to change the “Y” uppercase and did so in the final SVG. The line was brought down to a middle point in order to place the mayo bottle more easily.

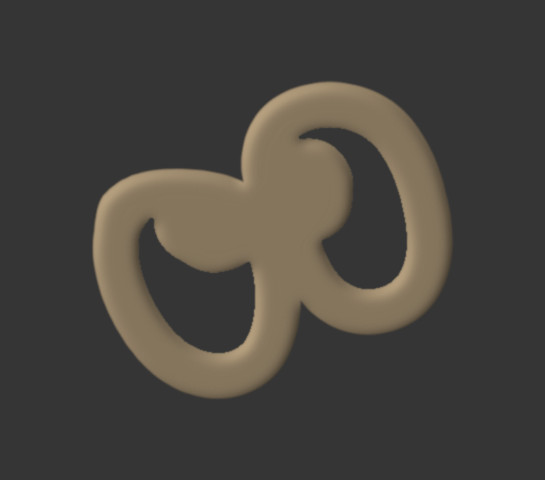
I originally wanted to draw in the eyes in either GIMP or Inkscape, but eventually found it to look bad. I made the eye shape into an SVG as well, and then imported both into Blender.

The mayo bottle was modeled by hand, and is essentially just a carefully extruded circle. The edge of the cap was given a bumpy normal map in order to simulate the look of the grip.

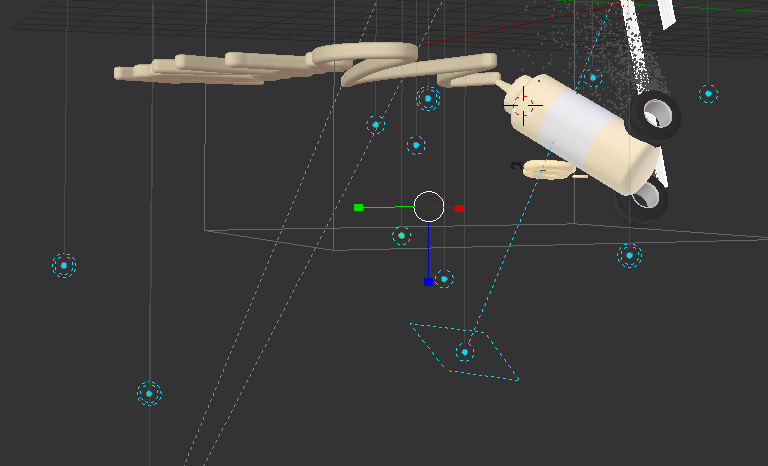
The text and eyes were extruded, beveled, and given materials. The text was also given an armature so it could be “posed” more easily. The pupils were made from squished down spheres. Objects were positioned and then given numerous light sources. The lighting is crucial in order to give the final render a less gritty appearance. The below image highlights all the different light sources in the final render: 11 in total.
The scene was rendered and then given some soft shadows and a background color using GIMP.
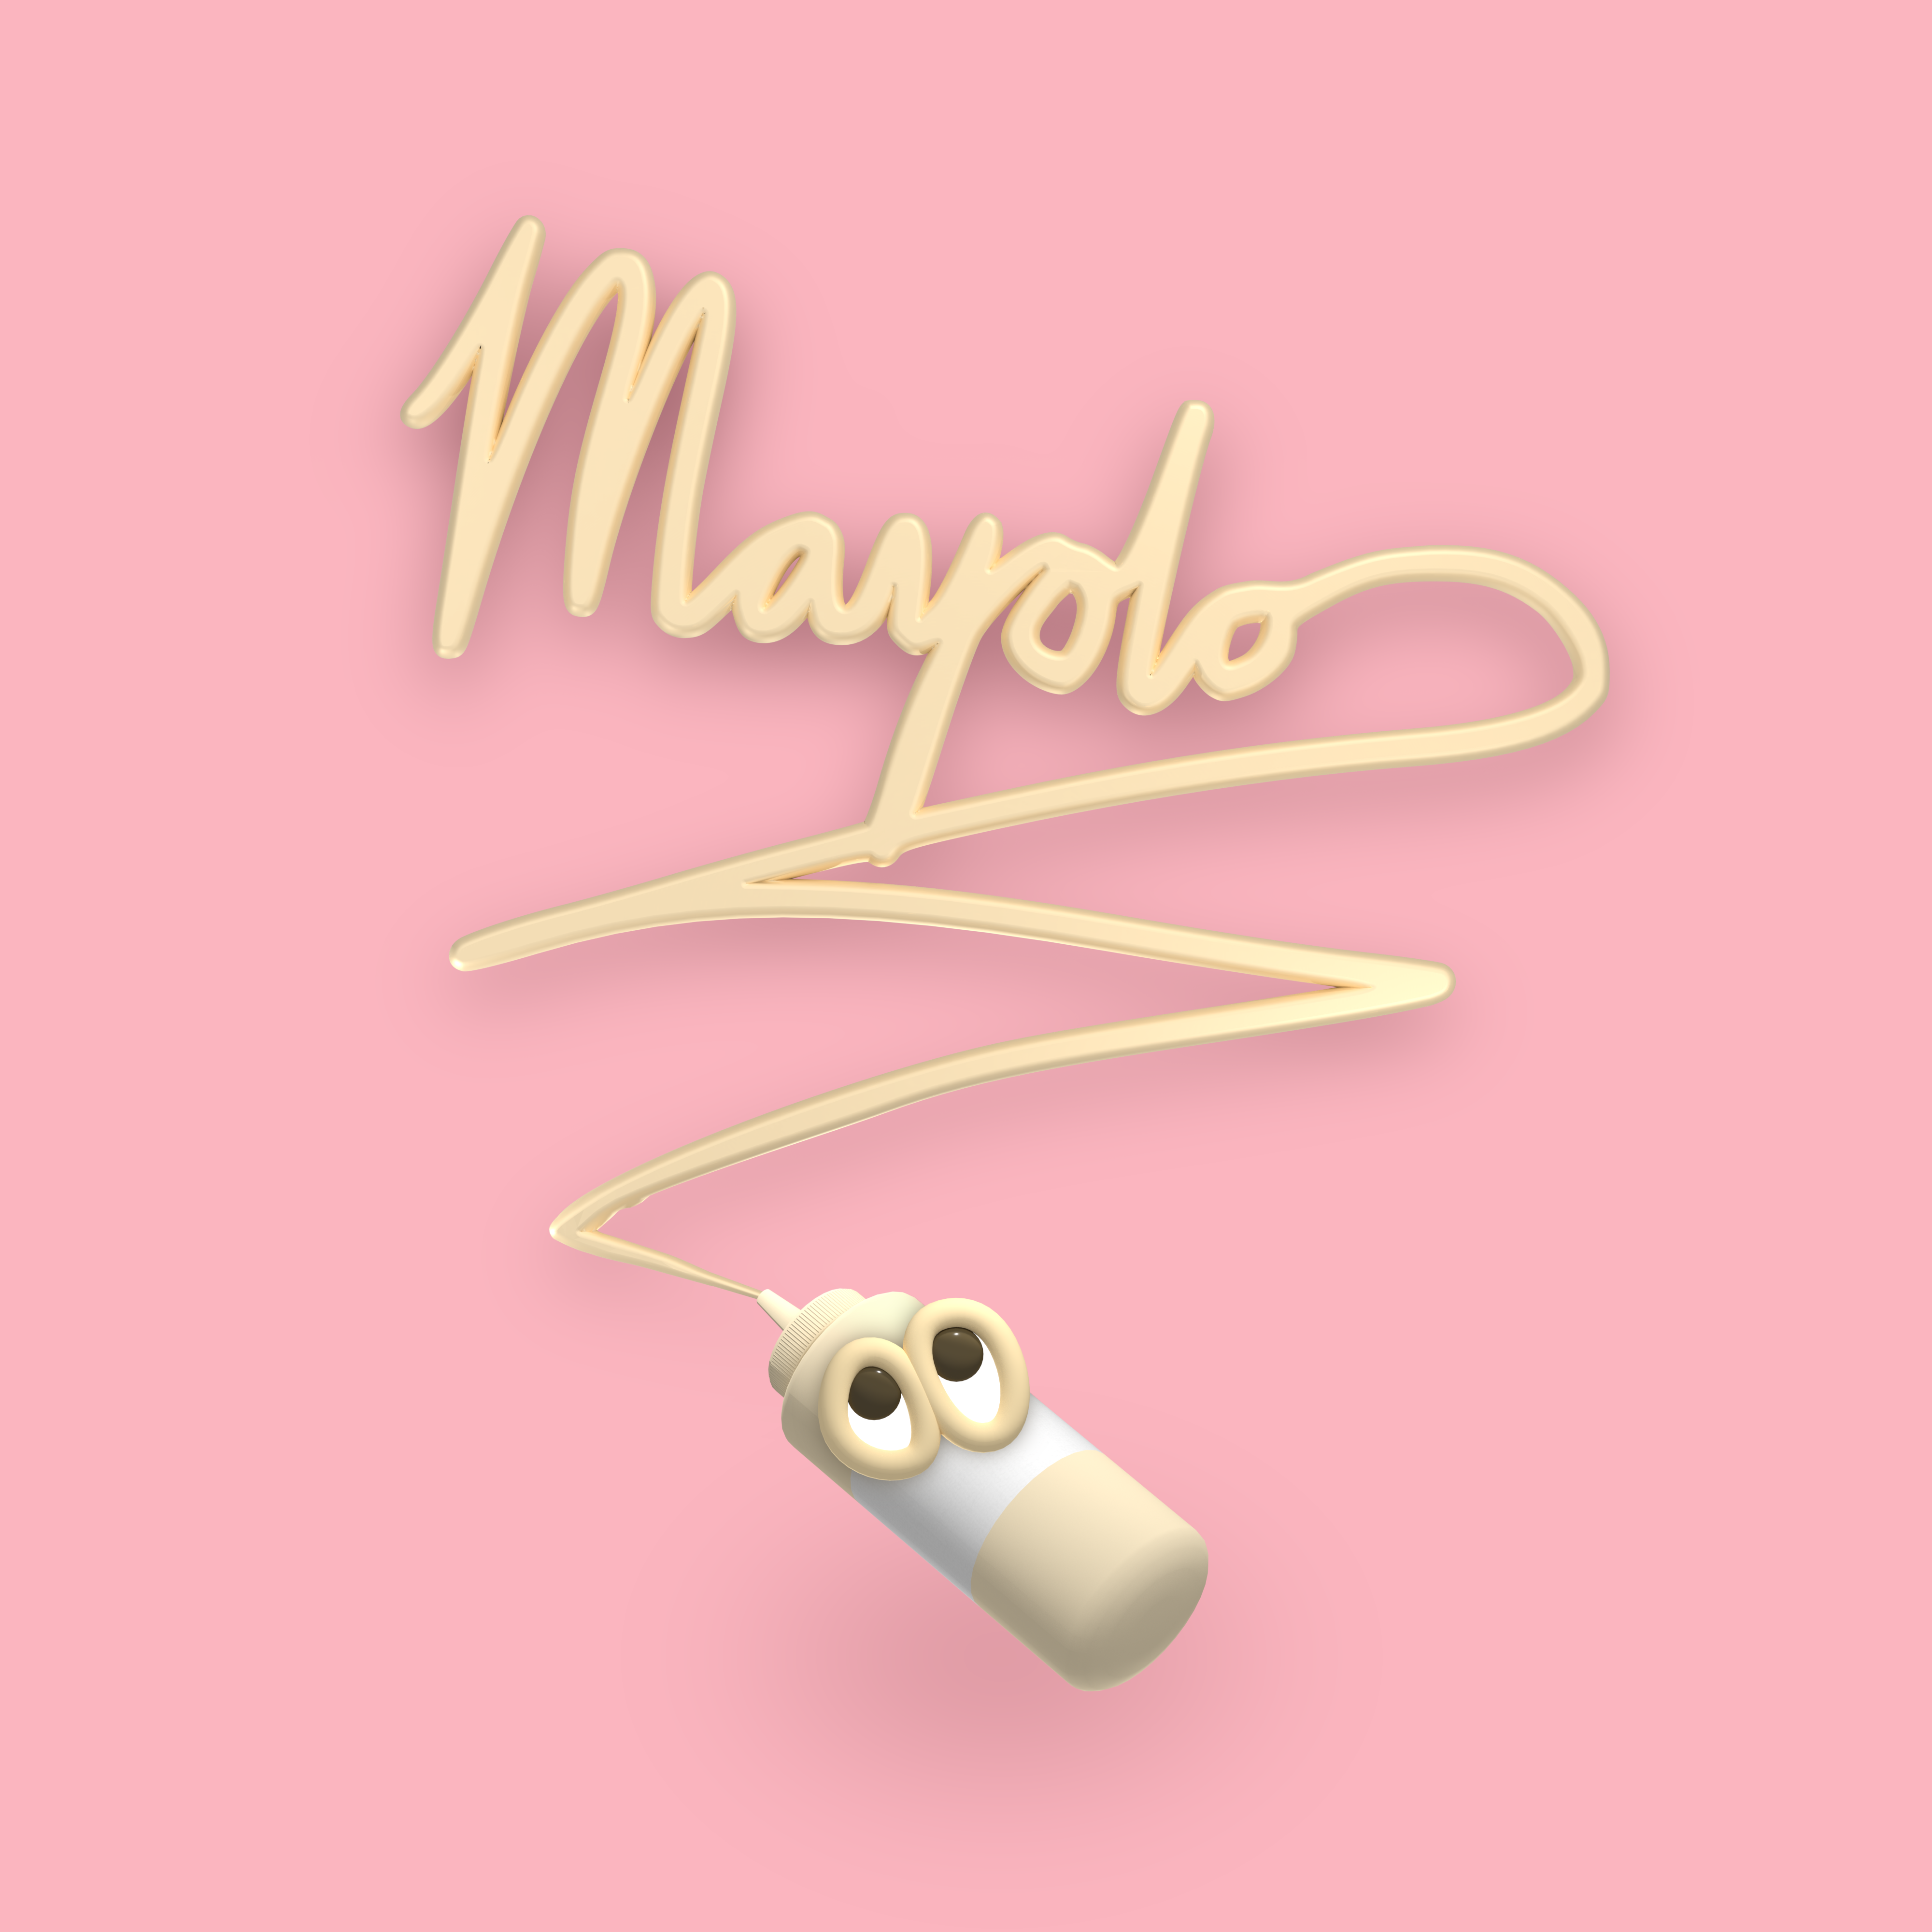
However, the client wanted a few more details added:
- Eyebrows
- Smile
- Wheels
- Skid marks
- Peel-out smoke/sparks
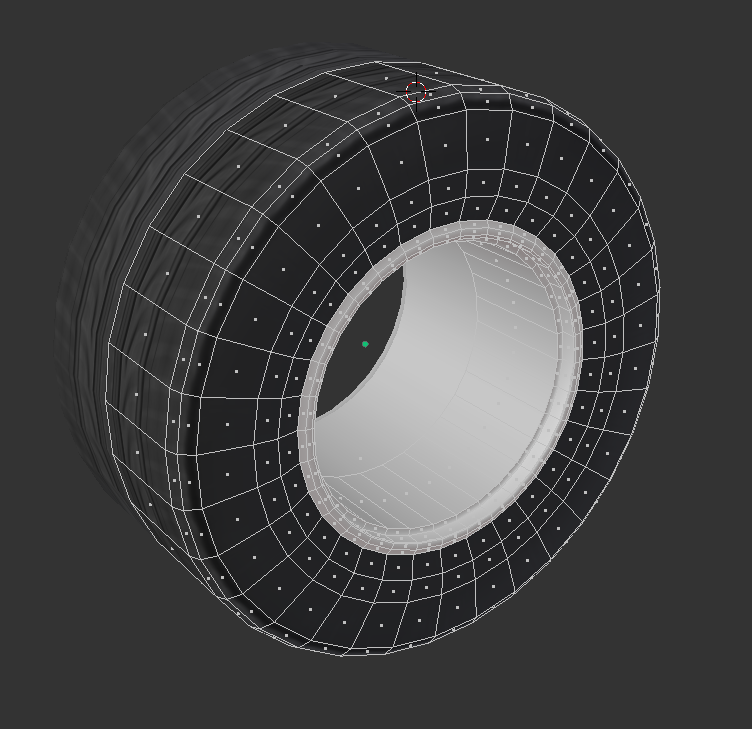
The eyebrows were fairly straightforwards. Give an armature to a long cylinder and bend it. Same goes for the smile. The wheels were a bit trickier. A circle was extruded into the shape of half of a wheel, and then the model was mirrored. A tire texture was made and then UV mapped onto the model. The texture was then blurred in one direction to give the appearance of motion. The inner rim was given a silver, metalic material.
The skid marks were made from two long extended planes and given a blurry, transparent, and lightened version of the tire texture. Despite what it looks like in the render, the skid marks stretch extremely far into the background.
The peel-out smoke and sparks were created using particle emitters placed directly behind the tires. These were given “Smoke” properties with a flow type of “Fire + Smoke”. The raw render looked like this after compositing all layers:
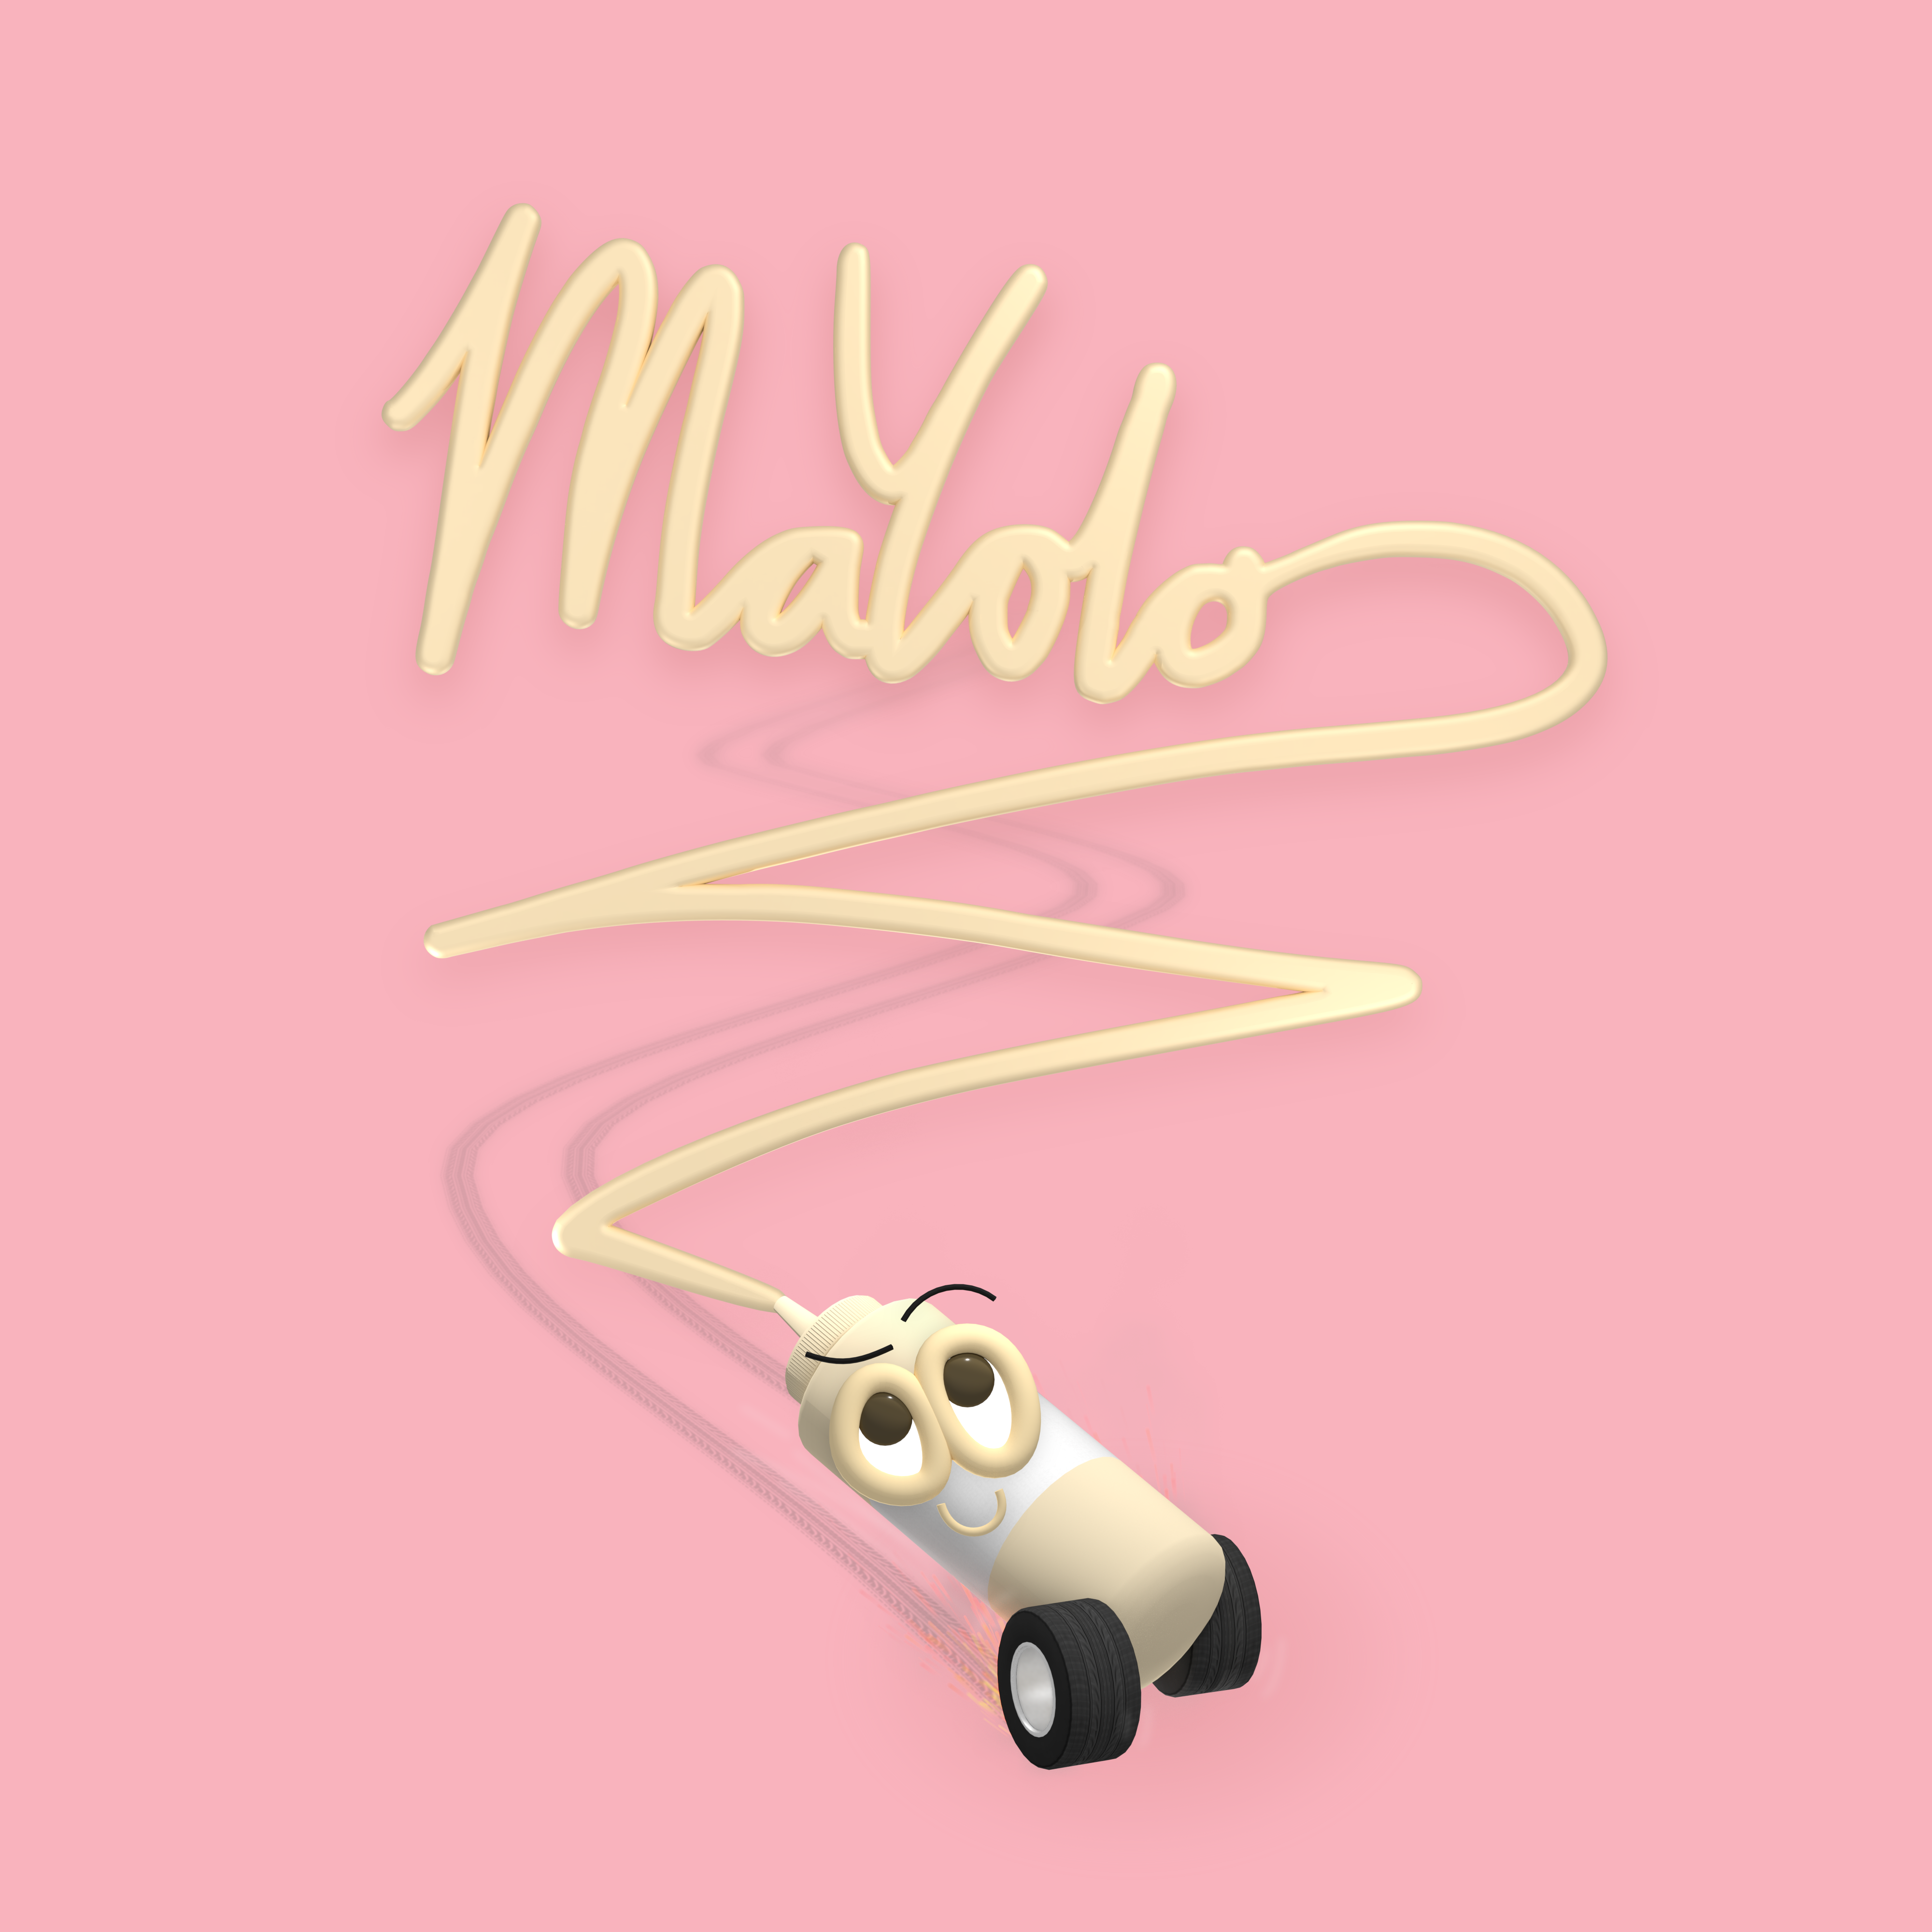
However, the flame effect was a bit lacking. Extra flame and smoke graphics were added to make the final render: